Export Amplitude Data to Snowflake
Event filtering availability
Event filtering for warehouses isn't available in the EU region.
Load your Amplitude event data into your Snowflake account. You can set up recurring syncs through the Amplitude UI, as well as manually start a sync of your historical data.
Other Amplitude + Snowflake integrations
This integration sends Amplitude data to Snowflake. Amplitude offers other integrations with Snowflake:
Considerations
-
Depending on your company's network policy, you may need add these IP addresses to your allowlist in order for Amplitude's servers to access your Snowflake instance:
- Amplitude US IP addresses:
- 52.33.3.219
- 35.162.216.242
- 52.27.10.221
- Amplitude EU IP addresses:
- 3.124.22.25
- 18.157.59.125
- 18.192.47.195
- Amplitude US IP addresses:
Limits
- Maximum running time for a single Snowflake SQL query is 12 hours.
Set up a recurring data export to Snowflake
Creating a recurring data export is a simple, three-step process you can handle yourself. Each sync completes within five to ten minutes, though often it's much closer to real time. This method also lets you watch jobs.
To set up a recurring export of your Amplitude data to Snowflake, follow these steps:
Required user permissions
You need admin/manager privileges in Amplitude, as well as a role that allows you to enable resources in Snowflake.
- In Amplitude Data, click Catalog and select the Destinations tab.
- In the Warehouse Destinations section, click Snowflake.
- Under Export Data to Snowflake, choose which data you'd like to include in this export: Export events ingested today and moving forward, Export all merged Amplitude IDs, or export both. For events, you can also specify filtering conditions to only export events that meet certain criteria.
- Review the Event table and Merge IDs table schemas and click Next.
-
In the Snowflake Credentials For Amplitude section, enter the following information:
- Account Name: This is the account name on your Snowflake account. It's the first part of your Snowflake URL, before 'snowflakecomputing.com'.
- Warehouse: The warehouse Amplitude uses to load the data. For best results, this should be a warehouse dedicated to loading Amplitude data to ensure other Snowflake operations aren't disrupted.
- Database: The database where Amplitude stores data. Dedicate this database specifically to Amplitude data.
- Username: The username Amplitude uses to connect to the Snowflake account.
- Password: The password associate with the username.
- Role: The role that the connection uses to write this data. The default value of role is
AMPLITUDEonly.
Warning
These credentials are case-sensitive, so keep that in mind.
-
Click Next. Amplitude attempts to upload test data using the credentials you entered. If the upload is successful, click Finish.
All future events are automatically sent to Snowflake.
From here, Amplitude generates micro-batch files at five-minute intervals and loads them to customer-owned Snowflake accounts directly every 10 minutes. You are able to see the data in your Snowflake accounts within 20 minutes after Amplitude receives the events.
Export historical Amplitude data to Snowflake
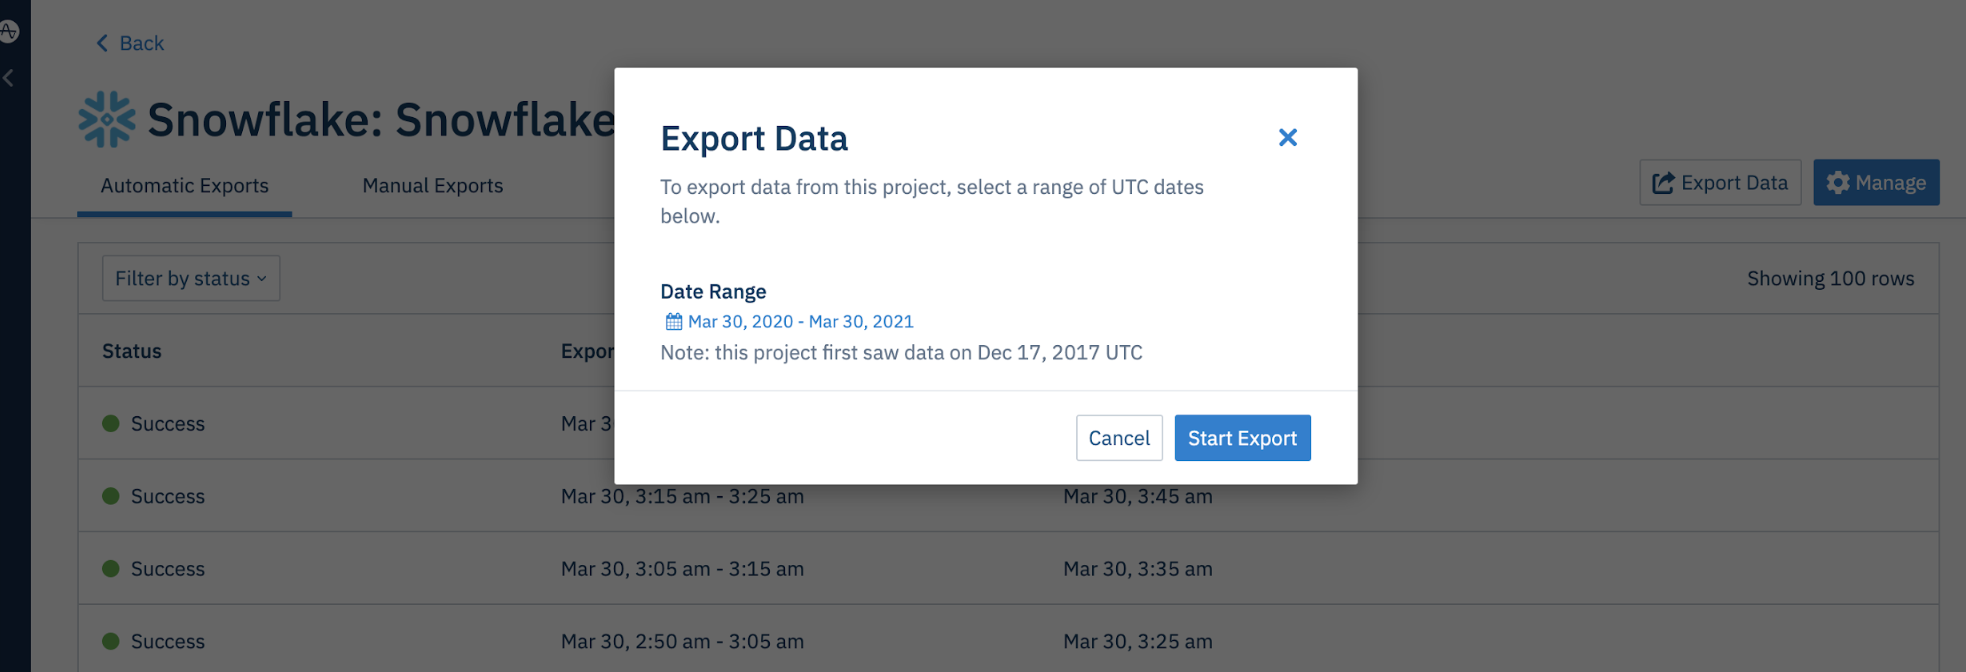
To export your historical data from Amplitude into Snowflake, navigate to the integration, then click Export Data and select a date range.
This process can take anywhere from a single day to several weeks. It depends on your data volume, warehouse size, cluster count, network bandwidth, and number of concurrent historical data exports you currently have, among other factors.
Reduce your Snowflake computation costs
If you are looking to reduce the Snowflake computation costs when receiving data from Amplitude, try these methods:
Note
The effectiveness of these recommendations will depend on the frequency with which you export to your Snowflake instance.
- Modify warehouse size and number of clusters. For shorter export cadences (15 to 30 minutes), try starting with
xsmallorsmall. Then upgrade as needed. - When backfilling data into Snowflake, start with a small warehouse and upgrade as needed.
- You can also try reducing the auto suspend time to 60s. This option might not be available within the Snowflake UI, but can be manually set via direct Snowflake query.
Snowflake export format
Event table schema
The Event table schema includes the following columns:
Column |
Type | Description |
|---|---|---|
amplitude_attribution_ids |
ARRAY | Hashed attribution ids on the event |
amplitude_id |
NUMBER | The original Amplitude ID for the user. Use this field to automatically handle merged users. Example: 2234540891 |
app |
NUMBER | Project ID found in your project's Settings page. Example: 123456 |
city |
VARCHAR | City. Example: “San Francisco” |
client_event_time |
TIMESTAMP_NTZ | Local timestamp (UTC) of when the device logged the event. Example: 2015-08-10T12:00:00.000000 |
client_upload_time |
TIMESTAMP_NTZ | The local timestamp (UTC) of when the device uploaded the event. Example: 2015-08-10T12:00:00.000000 |
country |
VARCHAR | Country. Example: "United States" |
data |
VARIANT | Dictionary where certain fields such as first_event and merged_amplitude_id are stored |
device_carrier |
VARCHAR | Device Carrier. Example: Verizon |
device_family |
VARCHAR | Device family. Example: Apple iPhone |
device_id |
VARCHAR | The device specific identifier. Example: C8F9E604-F01A-4BD9-95C6-8E5357DF265D |
device_type |
VARCHAR | Device type. Example: Apple iPhone 5s |
dma |
VARCHAR | Designated marketing area (DMA). Example; San Francisco-Oakland-San Jose, CA |
event_id |
NUMBER | A counter that distinguishes events. Example: 1 |
event_properties |
VARIANT | |
event_time |
TIMESTAMP_NTZ | Amplitude timestamp (UTC) which is the client_event_time adjusted by the difference between server_received_time and client_upload_time, specifically: event_time = client_event_time + (server_received_time - client_upload_time) Amplitude uses this timestamp is used to organize events on Amplitude charts. NOTE: If the difference between server_received_time and client_upload_time is less than 60 seconds, the event_time isn't adjusted and equals the client_event_time. Example: 2015-08-10T12:00:00.000000 |
event_type |
VARCHAR | Event type |
group_properties |
VARIANT | |
groups |
VARIANT | Group types. See the Accounts documentation for more information. |
ip_address |
VARCHAR | IP address. Example: "123.11.111.11" |
language |
VARCHAR | |
library |
VARCHAR | |
location_lat |
FLOAT | Latitude. Example: 12.3456789 |
location_lng |
FLOAT | Longitude. Example: -123.4567890 |
os_name |
VARCHAR | OS name. Example: ios |
os_version |
VARCHAR | OS version. |
paying |
VARCHAR | True if the user has ever logged any revenue, otherwise (none). Note: The property value can be modified via the Identify API. Example: true |
platform |
VARCHAR | |
processed_time |
TIMESTAMP_NTZ | |
region |
VARCHAR | Region. Example: California |
sample_rate |
NUMBER | |
server_received_time |
TIMESTAMP_NTZ | |
server_upload_time |
TIMESTAMP_NTZ | Amplitude timestamp (UTC) of when Amplitude servers received the event. Example: 2015-08-10T12:00:00.000000 |
session_id |
NUMBER | The session start time in milliseconds since epoch. Example: 1396381378123 |
start_version |
VARCHAR | App version the user was first tracked on. Example: 1.0.0 |
user_creation_time |
TIMESTAMP_NTZ | event_time (UTC) of the user's first event. Example: 2015-08-10T12:00:00.000000 |
user_id |
VARCHAR | A readable ID specified by you. Should be something that doesn't change; for that reason, using the user's email address isn't recommended. |
user_properties |
VARIANT | |
uuid |
VARCHAR | A unique identifier per row (event sent). Example: bf0b9b2a-304d-11e6-934f-22000b56058f |
version_name |
VARCHAR | The app version. Example: 1.0.0 |
Merged User table schema
The Merged User table schema contains the following:
Column |
Type | Description |
|---|---|---|
amplitude_id |
NUMBER(38,0) | The Amplitude ID being merged into a user's original Amplitude ID. |
merge_event_time |
TIMESTAMP | The time of the event a user's new Amplitude ID was associated with their original Amplitude ID. |
merge_server_time |
TIMESTAMP | The server time of the event when a user's new Amplitude ID was associated with their original Amplitude ID. |
merged_amplitude_id |
NUMBER(38,0) | The originally assigned Amplitude ID when the user is first created. |