Validate in CI
Amplitude Data works best when integrated into your continuous integration (CI) workflow, running continuously alongside your test suite. Amplitude Data integrates with all common CI providers, and you can configure it for custom environments.
After you've added Amplitude Data to your CI environment, Amplitude Data verifies your analytics against every build.
Note
Amplitude Data checks your analytics implementation against the tracking plan version that's currently checked in. If your team made changes to your tracking plan since the last call to ampli pull, those changes will not cause a failure in CI.
Step 1: Create an API token
Create an API token for your Amplitude Data account by going to Settings => API Tokens. Ampli uses this token for authentication when running inside CI to update your tracking plan's implementation status.
Warning
Keep your token secret. Your token has global permissions on your account.
Step 2: Configure a CI environment variable
Create an environment variable in your CI service called AMPLI_TOKEN and set it to the API token you created. Use this environment variable to pass the token to ampli status when it runs inside CI.
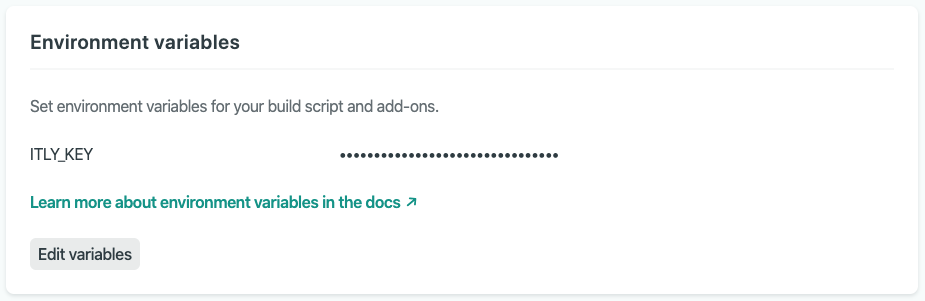
For example, this is what the Netlify environment variables screen would look like.
Read the documentation for your CI service to get step-by-step instructions:
Step 3: Prepare your project
By now, you've run ampli pull and ampli status in your project's root folder. The folder contains an ampli.json file with metadata about the current state of the Ampli Wrapper in your project. When you run ampli status, on your local machine or soon in CI, Ampli verifies your analytics against this file.
For non-JavaScript and non-TypeScript projects, this is all the configuration that's needed.
Optionally, for JavaScript and TypeScript projects, you may decide to install Ampli locally as a dev dependency. Installing Ampli locally in the project's node_modules folder simplifies installation and usage of Ampli for your team and CI environment. There are two steps to this.
Install Ampli as a dev dependency
To install Ampli locally, run npm install @amplitude/ampli -D.
Step 4: Run Ampli in CI
To integrate Ampli with your CI system, change your CI configuration to run ampli status as part of the build process.
Docker Containers
Amplitude has made it easy to run the Ampli CLI anywhere by creating Docker Containers which include all necessary dependencies.
amplitudeinc/ampli
The ampli image can be used to verify any Ampli SDK runtime except .NET.
amplitudeinc/ampli-all
The ampli-all image can be used to verify any Ampli SDK runtime, including .NET C#, but is larger in size.
Info
The amplitudeinc/ampli-dotnet and amplitudeinc/ampli-swift containers are deprecated.
Use latest version of amplitudeinc/ampli-all instead.
GitHub Actions
The Ampli CLI Docker containers can be used in your GitHub Actions workflows by setting the container.image value.
Learn more about how to run GitHub Actions in containers in GitHub's documentation here
name: Ampli Implementation Check
on: pull_request

jobs:
  build:
    runs-on: ubuntu-latest
    container:
      image: amplitudeinc/ampli

    steps:
      - name: Checkout repo
        uses: actions/checkout@v3

      - name: Verify analytics implementation and update status in Data
        run: ampli status -t ${{secrets.AMPLI_TOKEN}} [--update]
name: Ampli Implementation Check
on: pull_request

jobs:
  build:
    runs-on: ubuntu-latest
    container:
        image: amplitudeinc/ampli-all

    steps:
      - name: Checkout repo
        uses: actions/checkout@v3

      - name: Verify analytics implementation and update status in Data
        run: ampli status -t ${{secrets.AMPLI_TOKEN}} [--update]
Bitbucket Pipelines
The Ampli CLI Docker containers can be used in your bitbucket-pipelines.yml by setting the image value.
- step:
    name: Run 'ampli status' in CI
    image: amplitudeinc/ampli
      script:
        - ampli status [-u] -t $AMPLI_TOKEN
- step:
    name: Run 'ampli status' in CI
    image: amplitudeinc/ampli-all
      script:
        - ampli status [-u] -t $AMPLI_TOKEN
Other CI systems
The examples above are for GitHub and Bitbucket, but you can use the same images in any CI system that supports containers.
You should now have Ampli running inside your CI system. Congratulations!